Nuke a City Research Upgrades Tier List
Spend scarce research points on money first, then production, then quality of life.
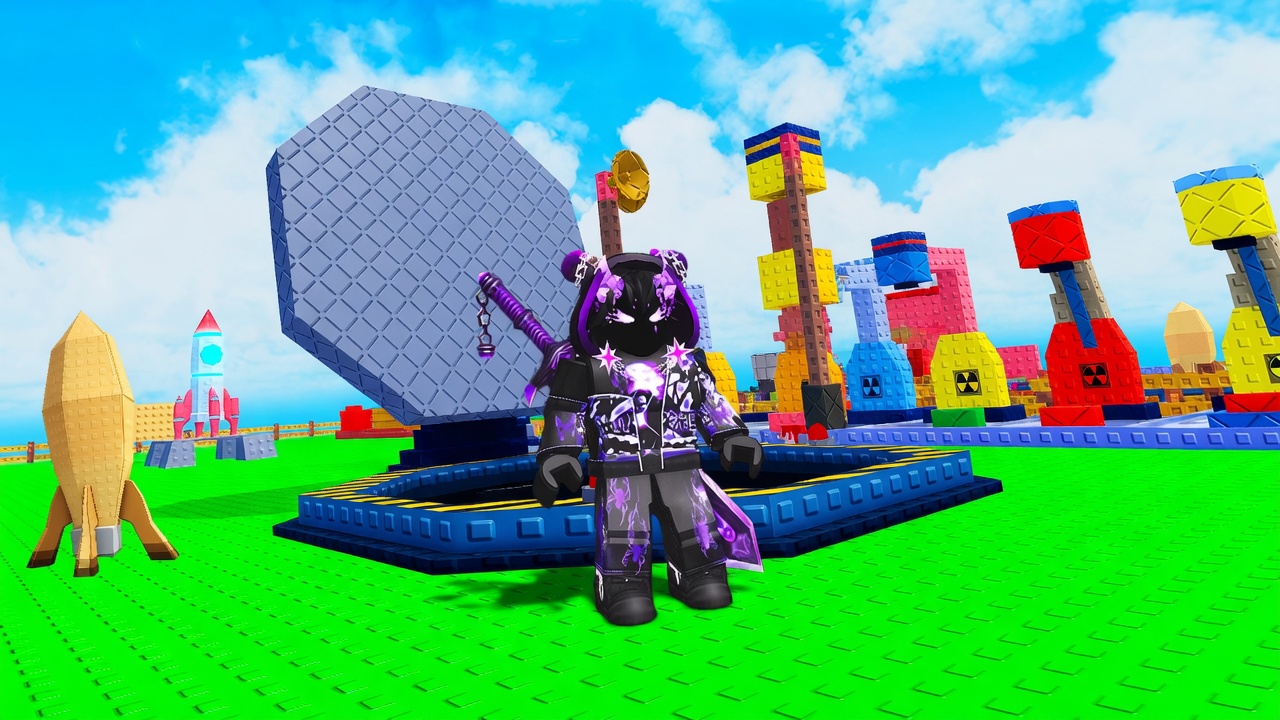
Research is the permanent layer in Nuke a City. You earn it by taking a rebirth: the statue reset wipes the current machines and cash and pays research points (RP) for how far that run went. Public sessions often report about five RP per rebirth, which is not enough to treat the tree like a completionist board. This page ranks the nodes the way a greedy run should buy them. If you still need the timing of the statue itself, read how to rebirth and come back with RP in hand.
Why the first nodes have to be greedy
A money multiplier does not only raise one launch. It raises every launch on every future plot, which means the next nuclear rebuild is shorter, which means the next rebirth arrives sooner, which means the next RP dump is larger in real time even if the raw RP number stays small. That compounding is why money multipliers sit at S even when a walk-speed node looks cheaper and friendlier.
Production and cost nodes sit right behind that. They shorten the painful rebuild after the wipe: droppers come online faster, expand buttons hurt less, and you reach the nuclear pad before you get bored. Quality of life—walk speed, carry, max totems—does not print EXP. It makes the 6-player plot less annoying. Buy those after the multipliers that actually move cash.
S tier: money multipliers
The first research screen many players see is a +10% money style node. That is the correct addiction. Stack money before you stack comfort. If two nodes both claim to raise income, take the one that multiplies cash on launch, not the one that only makes a totem crate slightly less rare. Money S-tier is also the reason you should not rebirth just to “see the lab.” Rebirth when the current dropper curve has flattened enough that RP will buy a shorter next run. Then dump the points into money until the node is no longer the cheapest win on the board.
Because RP payouts are chunky and small, a single wrong B-tier purchase can delay a money rank for an entire extra statue. That is the whole list in one sentence.
A tier: production and cost
After money, buy the nodes that make machines cheaper or faster. Production helps the manual dropper, the nuclear dropper, and anything that fills 100 EXP. Cost reduction makes the expand and the statue less of a brick wall on run two. Together they are A because they do not replace a money stack; they feed it. A player who only buys money and then crawls through a slow rebuild will still beat a player who only buys walk speed, but a player who buys money and then production will be the one launching while others are still unlocking the pad.
Do not confuse production research with “buy every dropper.” Machine rank is still nuclear first. Research production makes that nuclear path cheaper; it does not make poison the new S. Keep the two lists separate: this page is RP, the machines tier list is cash on the plot.
B tier: walk speed, carry, and max totems
Walk speed is the most honest quality-of-life node on a small 6-player map. It is still B. You buy it when the next money or production rank costs more RP than you have, or when you already stacked the greedy nodes and you are tired of jogging between dropper, rocket, and Control.
Carry helps when you are moving explosives by hand instead of living on one launch cycle. It is comfort. It does not change the 100 EXP rule.
Max totems matters if you actually use totem crates and you are hitting a slot cap. Totems can be huge multipliers when you roll well, but the cap node is still B because it does nothing until you have totems worth placing. Do not spend your first five RP on a slot you cannot fill. Farm money research, rebuild nuclear, then let totem caps ride along once the run is already printing.
Spend order you can repeat
- Rebirth on a plateau, not on a vibes check.
- Put every RP you can spare into money.
- Unlock production / cost so the next nuclear dropper appears before you tilt.
- Buy walk speed, carry, totem cap with leftovers.
- Repeat. Five-point payouts mean this loop is the game.
If you want the cash-side checklist that sits next to this tree, use the upgrade priority planner. If you are arguing with yourself about whether the statue is due, that argument belongs on how to rebirth, not on a speed node.
What not to rank as S
Anything that only works while you are looking at the city does not outrank a multiplier that works while you are offline. Nuke a City still grows explosives when you are logged out; money research rides along with that idle fill. A walk-speed node does not. Totem cosmetics do not. Extra totem slots without totems do not. If a new research row appears in a patch, ask one question: does this raise cash or shorten the rebuild? If the answer is no, it starts at B until the payouts change.
RP is a rare currency with a boring correct answer. Buy money. Then buy the production that feeds money. Then buy the comfort that makes you willing to sit another launch. That order is the list.
Frequently Asked Questions
Quick answers to the most common questions.
What should I buy first with research points?
Money multipliers. They sit at S because they speed every future launch and every future rebirth, not just the current plot.
How many research points does a rebirth give?
Public runs often report about five RP per rebirth. Treat that as a scarce dump into money first, not a full tree clear.
Are walk speed and totems bad upgrades?
They are B-tier quality of life. Buy them after money and production/cost, or when the greedy nodes are already stacked.
Does production research replace the nuclear dropper?
No. Production and cost are A-tier RP buys that make the machine path cheaper. Nuclear is still the S-tier pad on the plot.
When do I rebirth just to rank this tree?
Rebirth when the current run has plateaued enough that the RP will cut the next rebuild. Do not reset only to click a walk-speed node.